






DESIGN & PLANNING
The details on the wall. The systems behind it.
Keypads, speakers, screens and shades belong in the design conversation alongside lighting, furniture and finishes. Resolve the details people see, then make room for the wiring, ventilation and access behind them. Early coordination protects the material palette and gives the client controls that are as easy to use as they are to live with.
Keypads, finishes and the right engraving
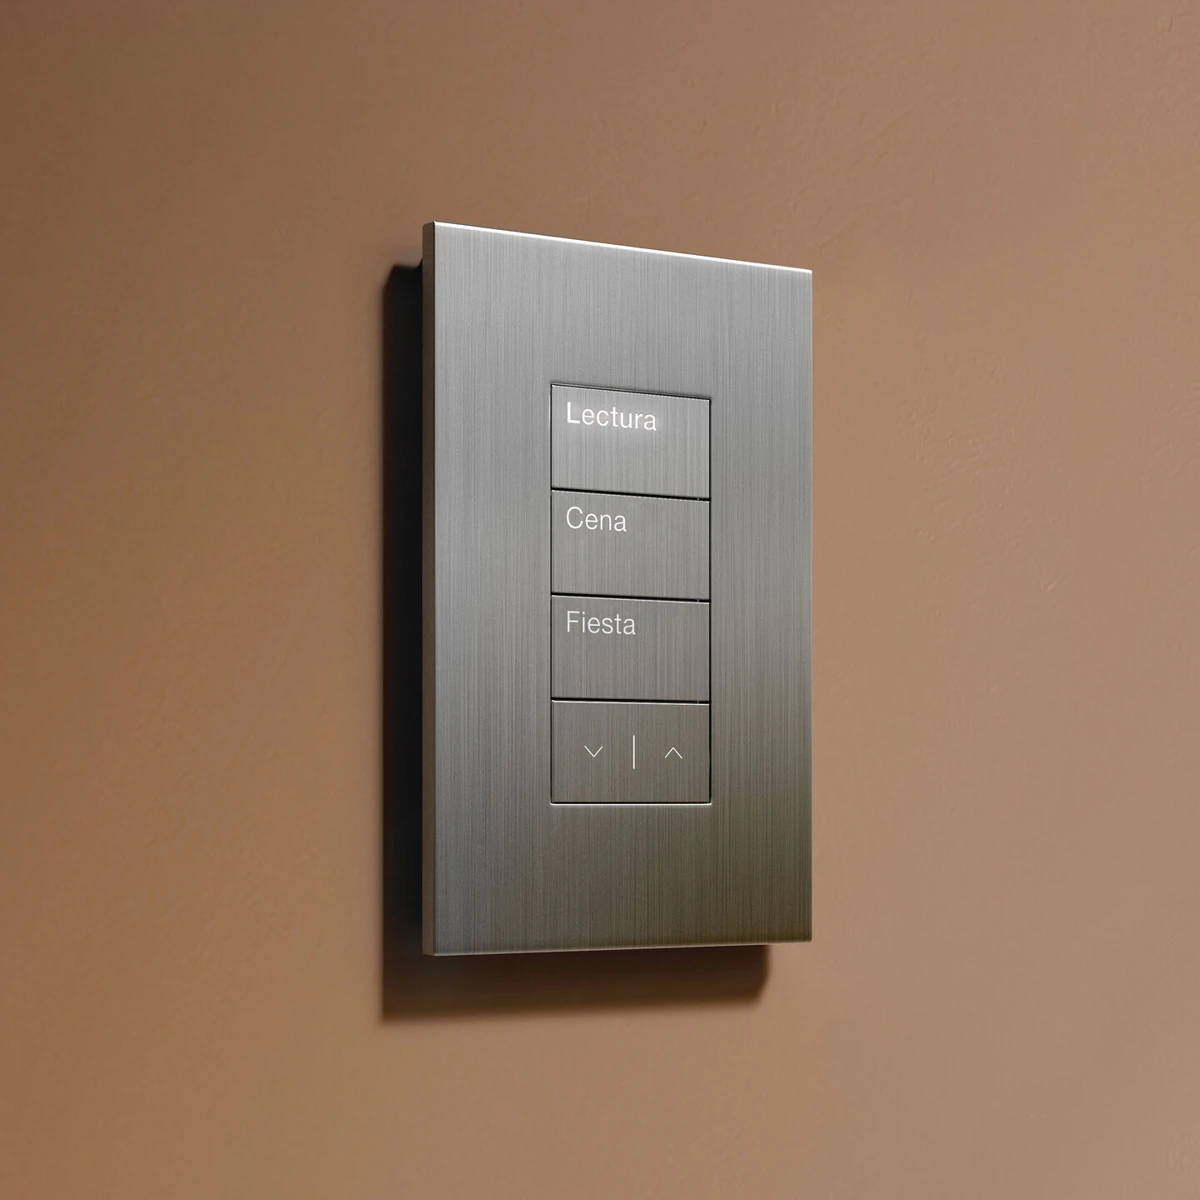
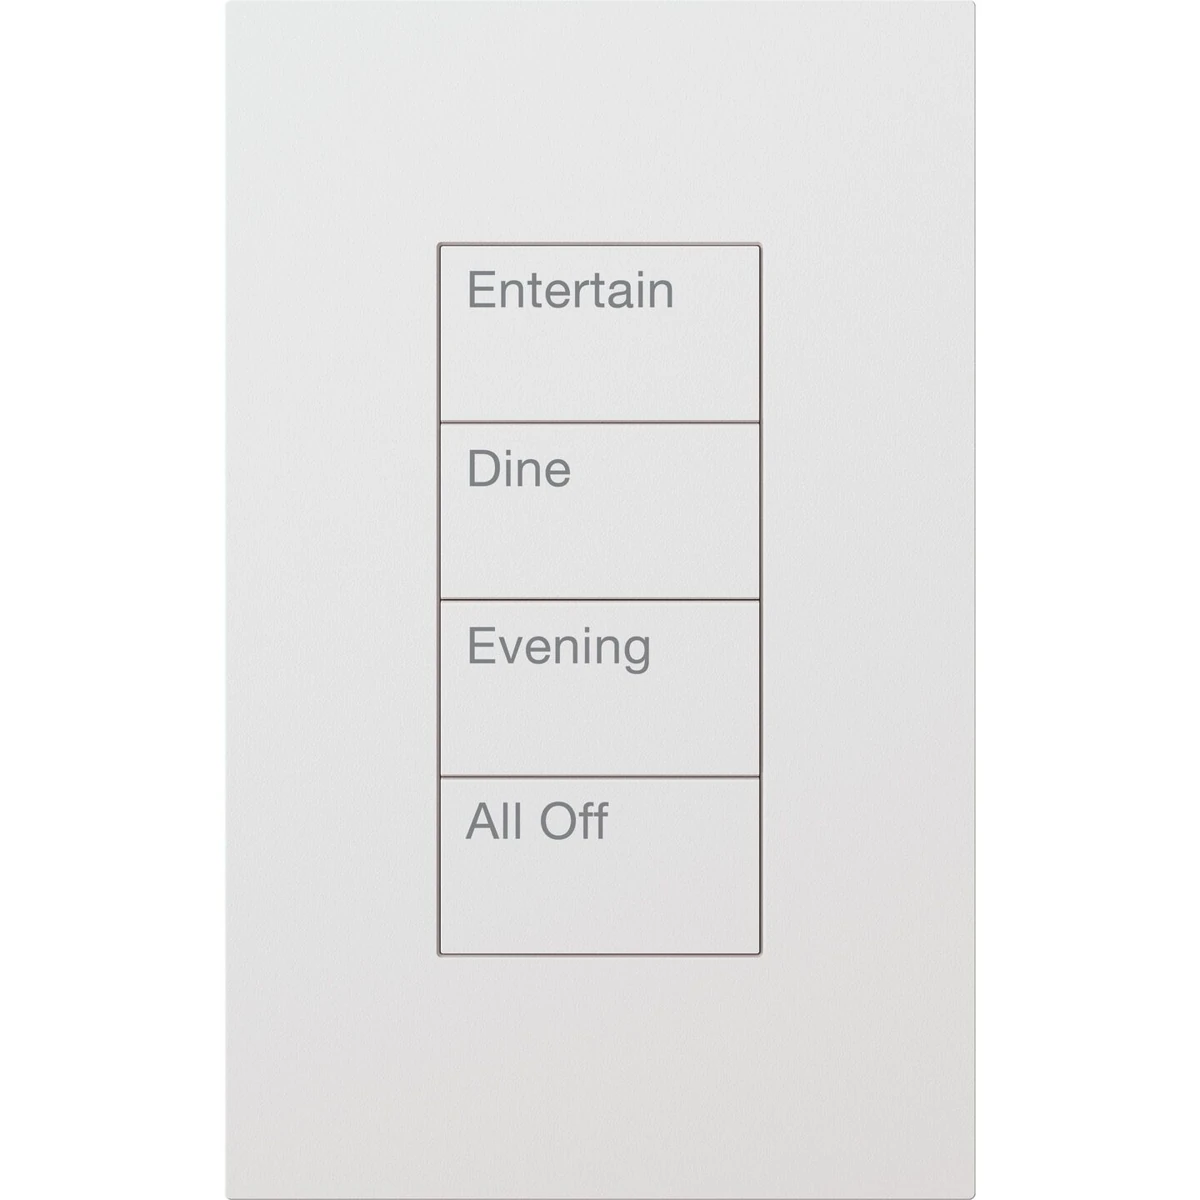
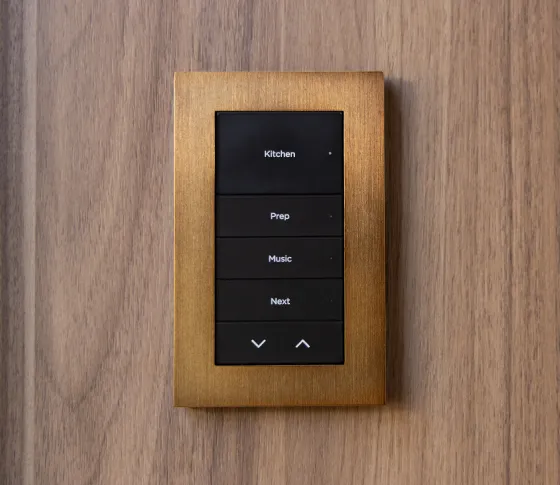
Lutron Palladiom keypads pair matching button and faceplate materials with custom engraving and adaptive backlighting. The buttons sit level with the faceplate; the faceplate projects from the wall. Compare samples with door hardware, stone and paint, then place them on the elevations.
Control4 Lux adds configurable controls and a choice of faceplate finishes. The Lux Wired Keypad supports custom backlit engraving. With either approach, settle the scenes before naming the buttons: Dining, Reading and Room Off should each have a clear, agreed behavior.
For a new build or substantial renovation, panelized lighting moves dimming and switching into an equipment panel, reducing banks of controls on the wall. Coordinate the electrical layout early, then review the final lighting and shade scenes with the client in the finished room.
Lighting controlInvisible speakers and the finished surface
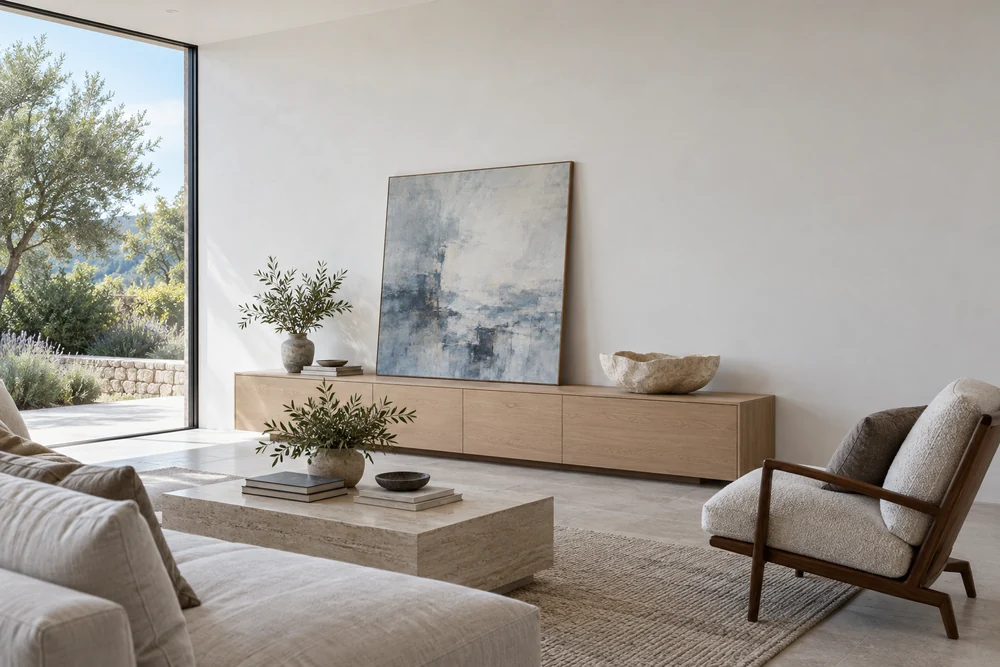
Invisible speakers sit behind an approved surface finish, with no conventional grille. The speaker and wall build-up need to be specified together: substrate, framing depth, finish material and maximum total thickness all affect performance. Share the selected manufacturer’s requirements directly with the finishing trades.
Use a sample panel when the proposed finish has not been validated. Check sound before and after finishing, including expected listening levels, bass support and transfer to adjoining rooms. Record speaker locations for future service, since repair or replacement may require opening and restoring the surface.
Whole-home audio & videoSamsung The Frame within the art wall
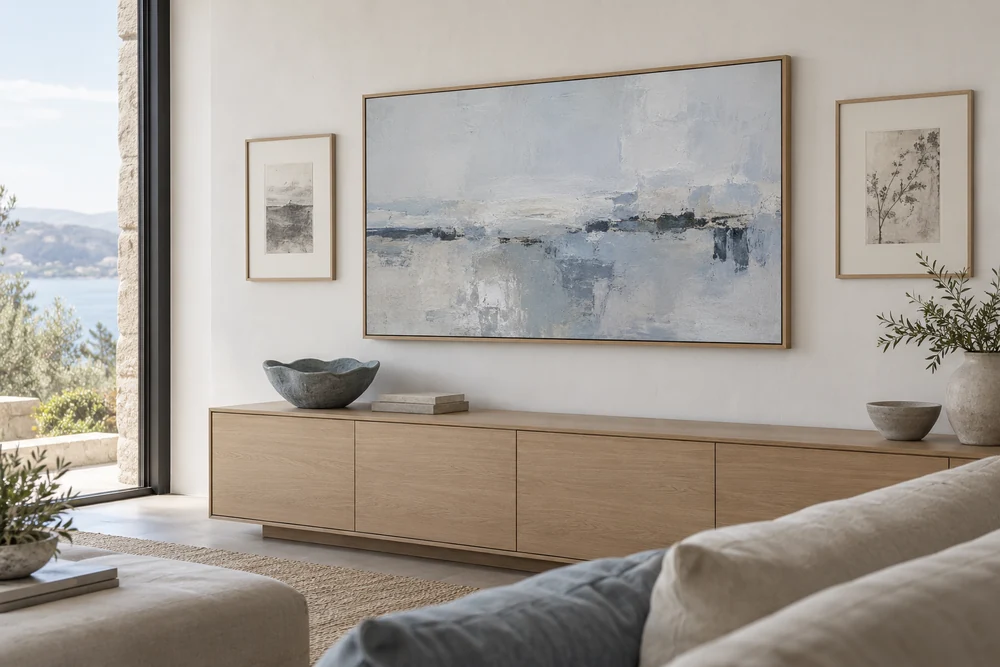
Samsung The Frame displays artwork in Art Mode when you are not watching television. Its scale, viewing height, daylight conditions and optional bezel still need to work with the room and the surrounding art. Review the television position from the seating as well as from the main entrance.
Full Art Store access requires a subscription; personal photos are another option. Connections vary by model, including wired One Connect, Wireless One Connect and built-in ports. Confirm the exact model before detailing the wall. Wireless models still need power at the screen, and all connection points need service access.
Home theaterArchitectural audio in the ceiling plan
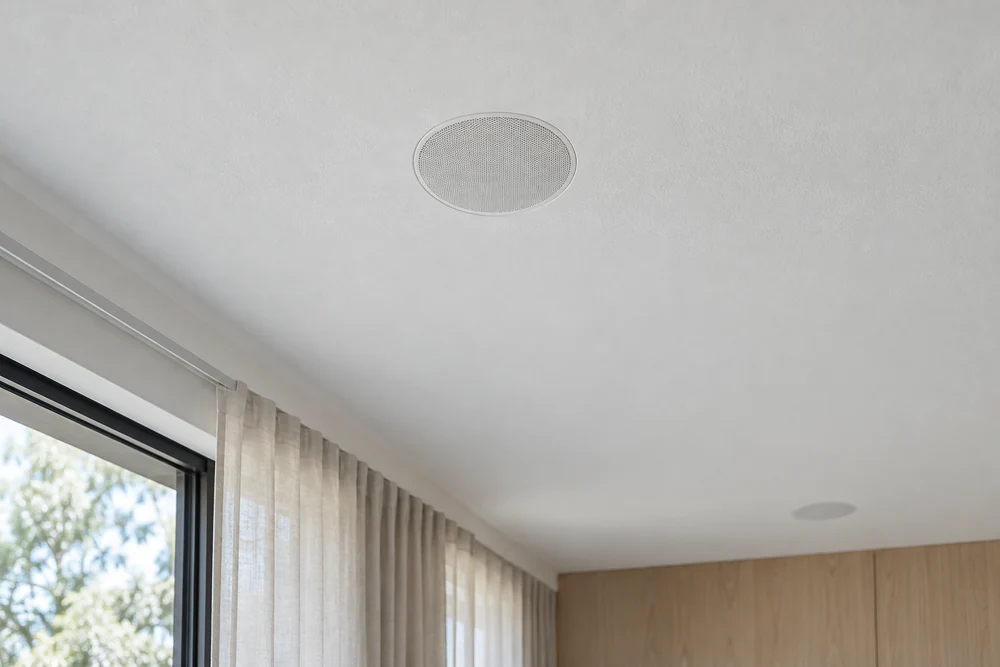
In-wall and in-ceiling speakers retain a visible grille, with finish options tied to the model. KEF’s Ci160ER, for example, has a paintable grille and bezel. Coordinate speakers with downlights, air outlets, sprinklers and decorative fixtures while preserving coverage over the seating and listening areas.
Check cutouts, mounting depths and enclosure requirements before construction. For a cinema or focused listening room, establish the front soundstage and bass approach with the furniture layout. Visual symmetry alone does not determine where the speakers should go.
Whole-home audio & videoConcealed equipment that remains accessible
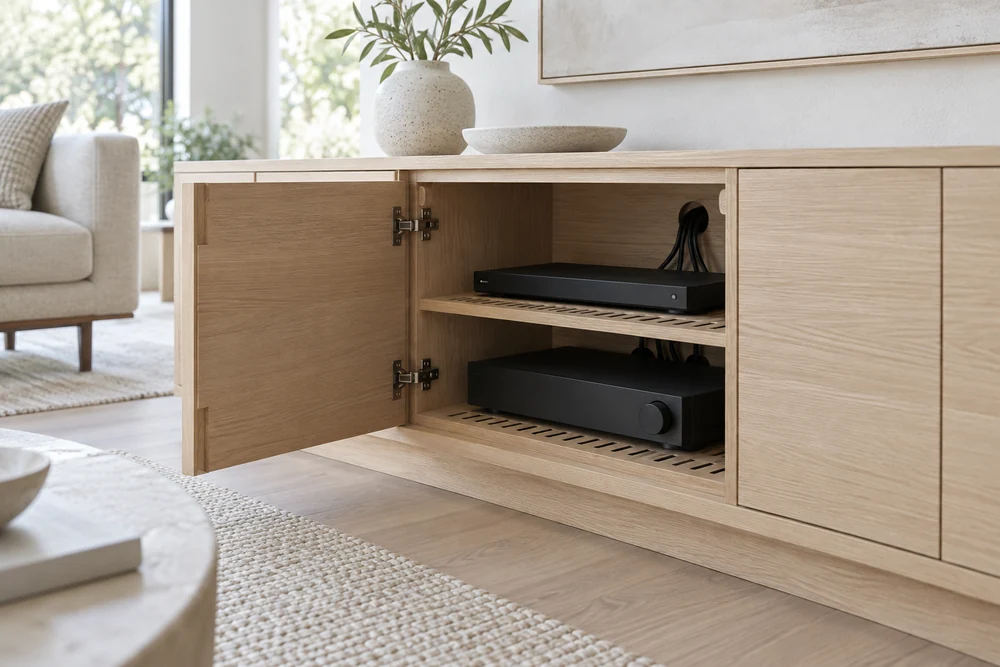
Amplifiers, source devices and network equipment need space for both the components and the cables behind them. Resolve the location with the cabinetmaker before fabrication. Check connector depth, ventilation clearances and the route for removing a component without dismantling the millwork.
Sealed cabinetry can trap heat, and some materials obstruct wireless signals. Include accessible outlets, labeled connections and cable paths. Where screens or speakers move behind cabinetry, verify the mechanism, operating clearances and service access in the shop drawings.
NetworkingShade fabrics, pockets and privacy
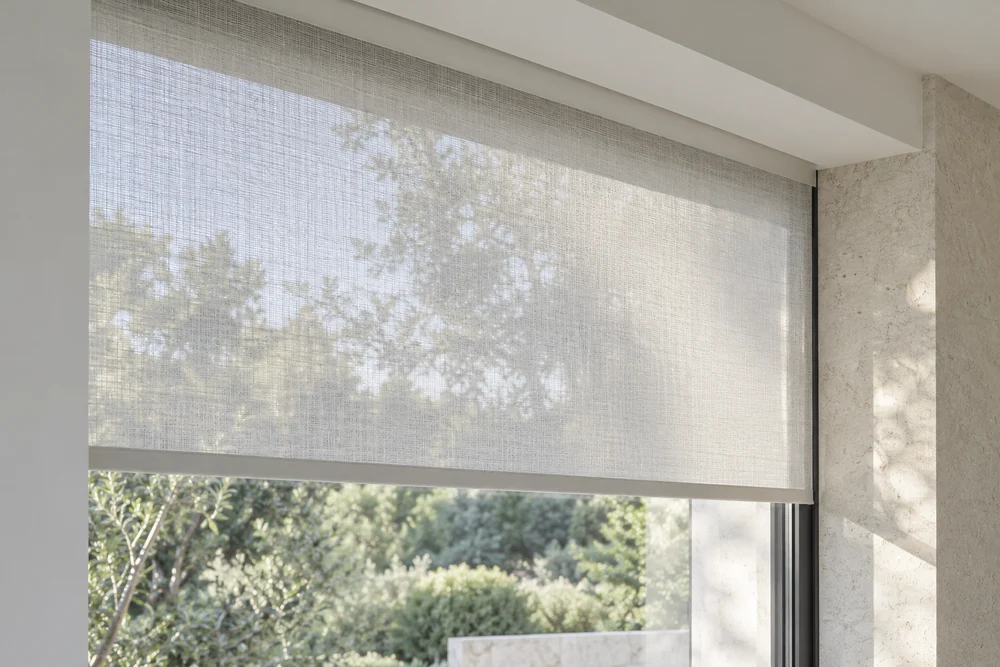
Compare fabrics at the actual window. Color and openness affect glare, view-through and light transmission, while nighttime privacy needs its own check. A solar screen may need a separate privacy or blackout layer, with room for both treatments to move freely.
Blackout fabric still allows edge leakage unless the mounting addresses it. Coordinate pockets or fascia, brackets, power, fabric travel and access before the ceiling or drapery details are finalized. Bring the shade installer, window-treatment designer and electrician into the same review, then align the shade positions with the lighting scenes.
Automated shadesProduct details
Specifications and options from the manufacturers.
- Lutron HomeWorks Palladiom Keypads (opens in a new tab)
- Control4: Using lighting scenes (opens in a new tab)
- Sonance Invisible Series Installation Manual (opens in a new tab)
- Sonance Invisible Series: installation and finish overview (opens in a new tab)
- Samsung: How to get artwork for The Frame TV (opens in a new tab)
- Samsung 2026 The Frame lineup announcement (opens in a new tab)
- Samsung 55-inch The Frame LS03FA (2025) (opens in a new tab)
- Samsung: Set up Wireless One Connect (opens in a new tab)
- KEF Ci160ER architectural speaker (opens in a new tab)
- Denon safety instructions: ventilation and installation (opens in a new tab)
- Lutron fabric specification guidelines (opens in a new tab)
- Lutron: Choosing the right types of window shades (opens in a new tab)
- Lutron Application Note 598: Measuring for shades (opens in a new tab)
- Lutron Roller 100/150/300 Pocket Mount instructions (opens in a new tab)
- Control4 Lux lighting controls (opens in a new tab)
- Control4 lighting design guide (opens in a new tab)